 |
| (realtor pic) |
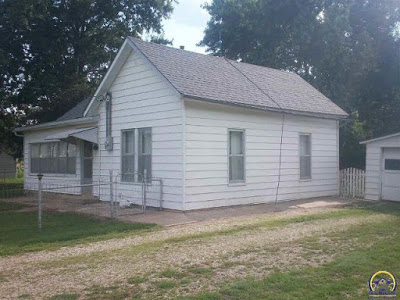
Welcome to our home! We purchased this charming house in October 2017 in a small town in Kansas. It was built in 1888 and was originally a two room house, with other rooms added on in 1925. There is so much I love about this house. We are renovating and I am so excited to say that we just completed the bathroom!
 |
| (realtor pic) |
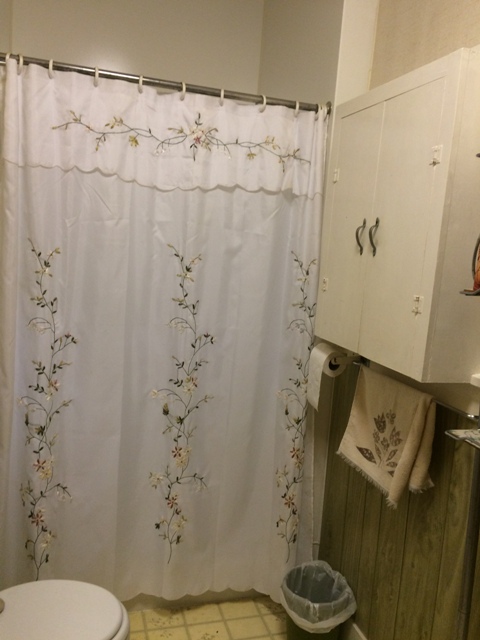
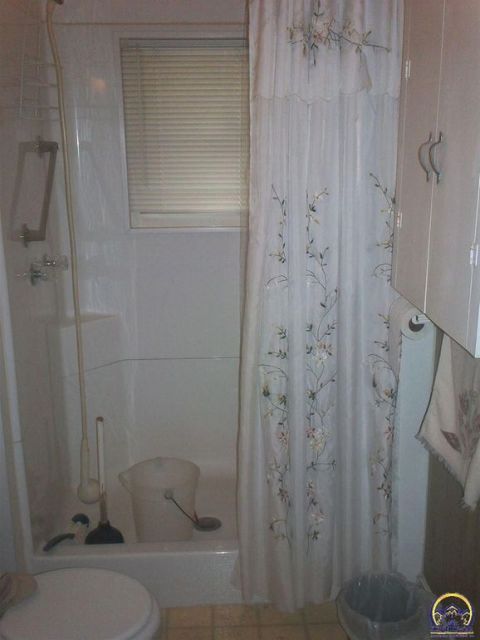
The one bathroom in our home is a small space. I am guessing there were some updates in the 70s, because of the greenish-brown paneling that was added to the lower half of the walls. The shower was in great condition, so it needed only a good cleaning. There is a window in the shower, so I think at some point there must have been a claw-foot tub, but the shower stays, and we ended up hanging a tiny shower curtain over the window with a tension rod.
Our home was the first one in this town to have indoor plumbing installed, so the owner must have been progressive in his time. We decided everything in the bathroom had to go, except the shower. We pulled out the sink, the toilet, the metal medicine cabinet, and even the greenish-brown wall paneling.
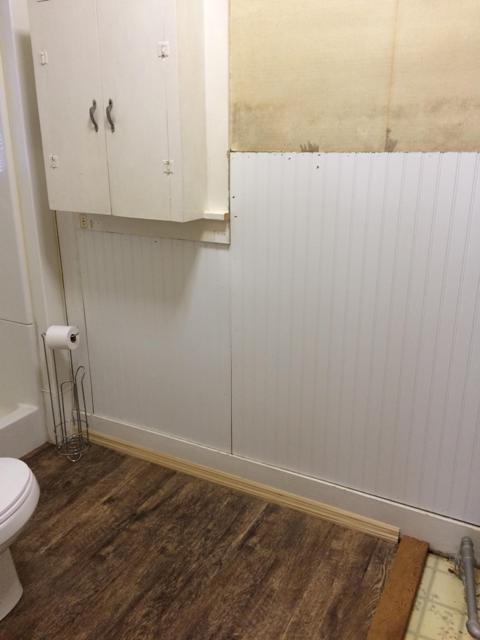
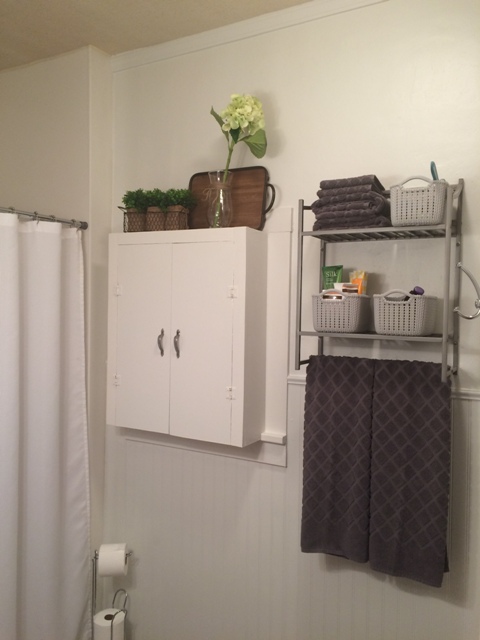
The cabinet on the wall seems to be built into a window, although we found no window on the outside of the home. We decided to keep the cabinet, but we removed the toilet paper holder and towel rack from the wood frame.
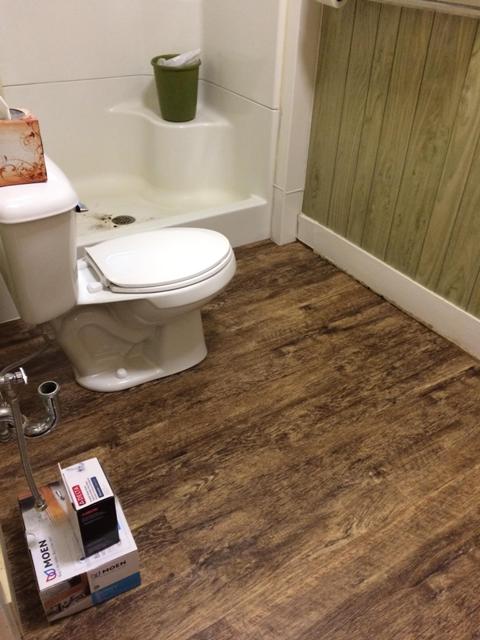
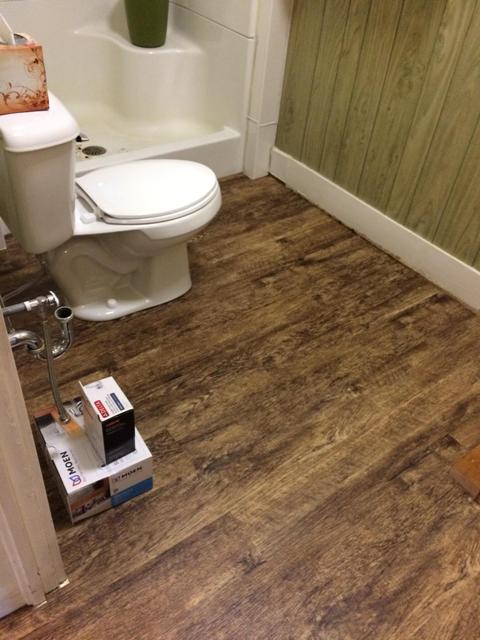
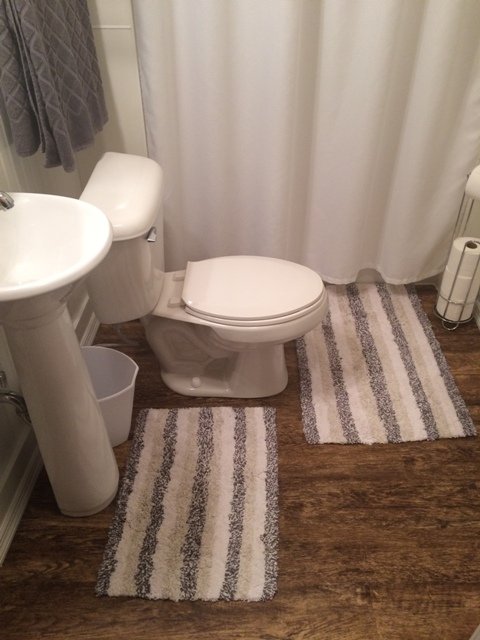
Old homes rarely have completely level floors or perfectly square rooms, and that's influenced our decisions on material choices. We chose luxury vinyl plank flooring for under our feet. It is beautiful and textured, looks like real wood, is completely waterproof, and as a bonus, it goes down directly over existing flooring. In just a few hours, the old stained linoleum was gone and in its place was a beautiful floor that will last long past our lives.
The toilet placement is a bit further from the wall than in newer homes, due to the placement of the original plumbing, but like most issues we've come across, we just decided to work with what we've got. Once the floor was in, my husband added the toilet while I danced around waiting for it to be installed so I could use it.
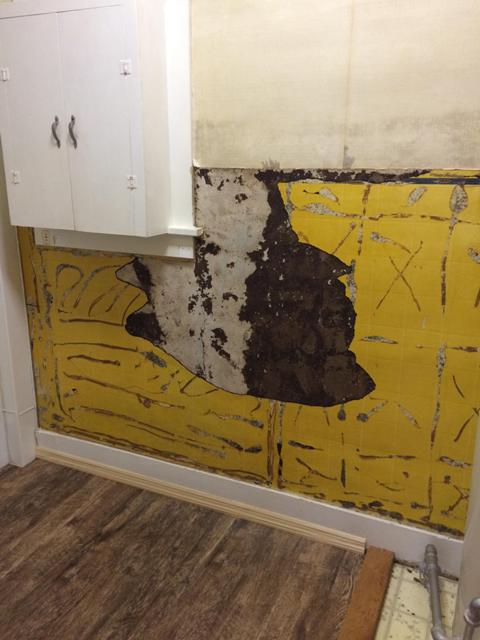
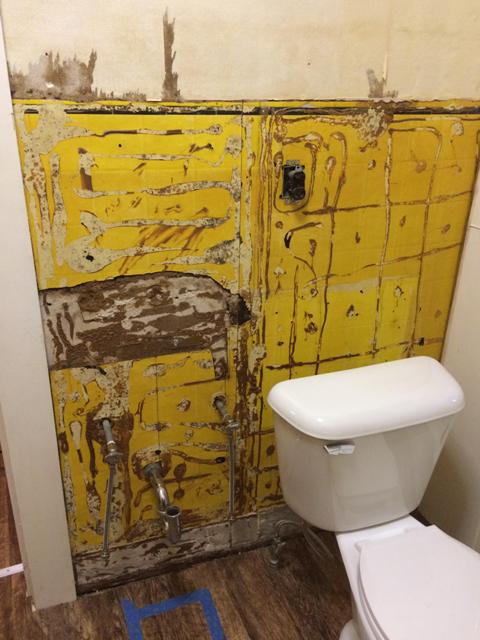
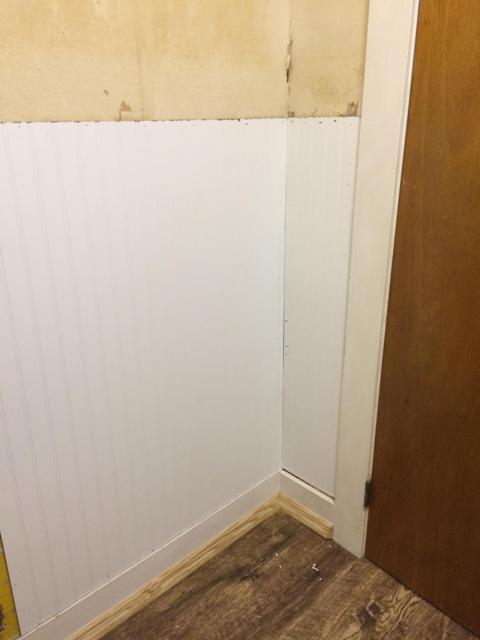
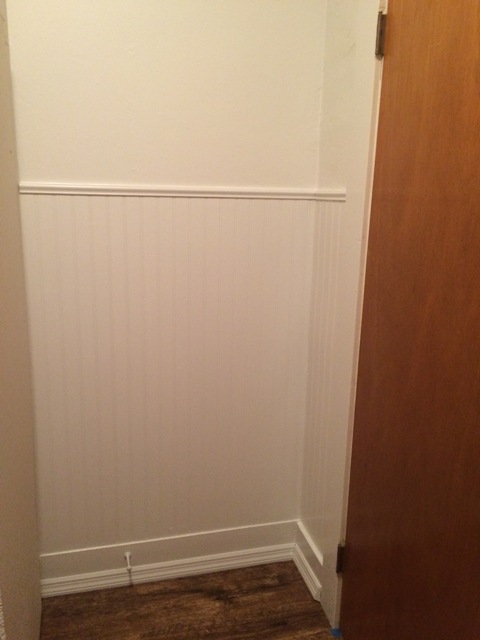
Look at what we found when we pulled down the paneling! It looks like yellow tile printed on some kind of thick, black vinyl that was glued to the wall. To avoid any probable chemical release into the air, we elected to go with beadboard and place it directly over the yellow panels. I also removed the wallpaper that covered the top half of the walls. The top layer of wallpaper came off easily, but I had to hand scrape all the glued backing off the walls.
We replaced only one of the original baseboards because it was damaged, and installed an additional baseboard in front of the simple 1x6" baseboards for both aesthetic and practical reasons. In the picture below, to the lower right, you can see we also added a frame to enclose the corner where the water heater was located when originally installed.
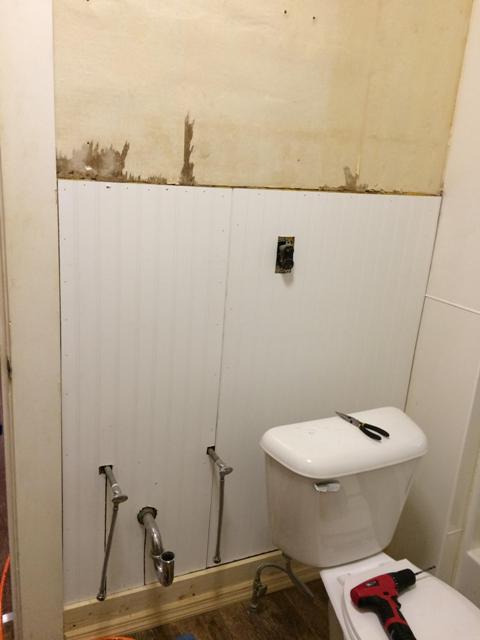
We installed the beadboard in 4' tall sections, which fortunately fit right over the existing paneling choices by the previous owner. We opted for the
MDF beadboard, which was lighter and easier to work with, as well as more affordable. Once painted, it's as beautiful as wood beadboard.
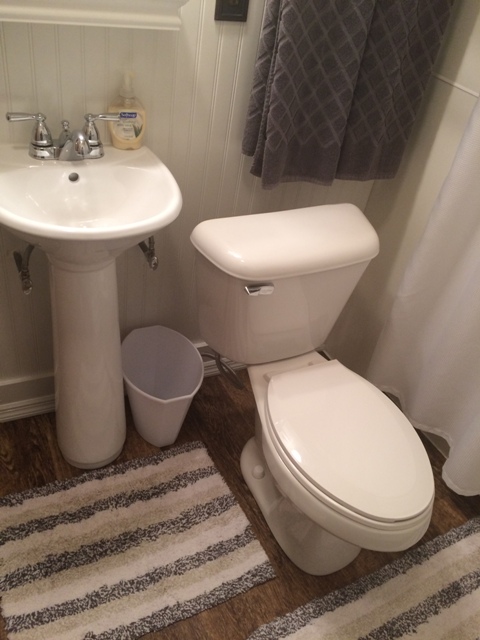
Buying the right size bathroom sink proved to be a challenge. We originally purchased one at a hardware store in the nearest big town, but it was just too big for the space and we returned it. I scoured the internet and ordered the perfect
pedestal sink for our bathroom.
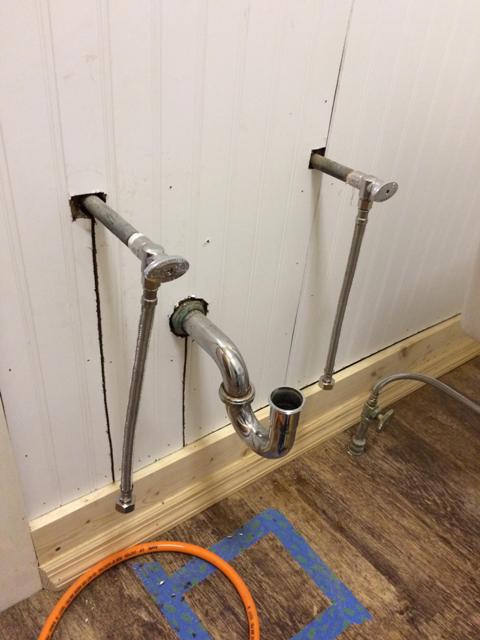
We marked the spot on the floor where we would be installing the pedestal sink. The installation proved to be quite a challenge when we got to that point because the previous owner also worked with what he had and many of the newer fittings had to be modified to fit what was existing.
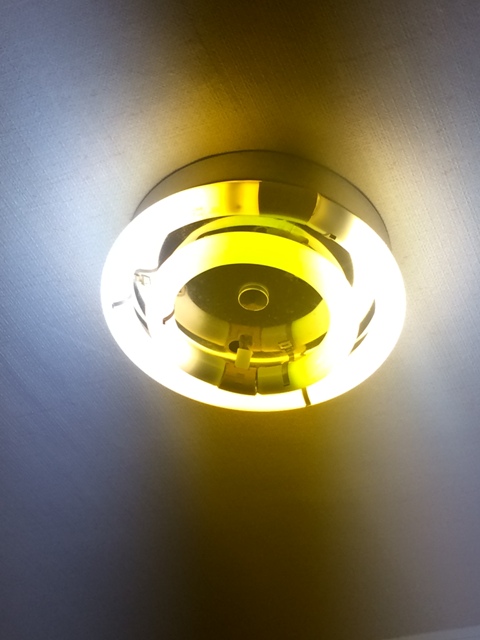
Beadboard is definitely rough-looking until it is caulked and painted, especially when you're working with rooms that are 100 years old. We also discovered that under the wallpaper, the walls are either constructed of incredibly old cement board or incredibly old gypsum wallboard. The wallpaper even covers the ceiling, which we opted to leave in the bathroom as a textured ceiling, but the florescent light had to come down.
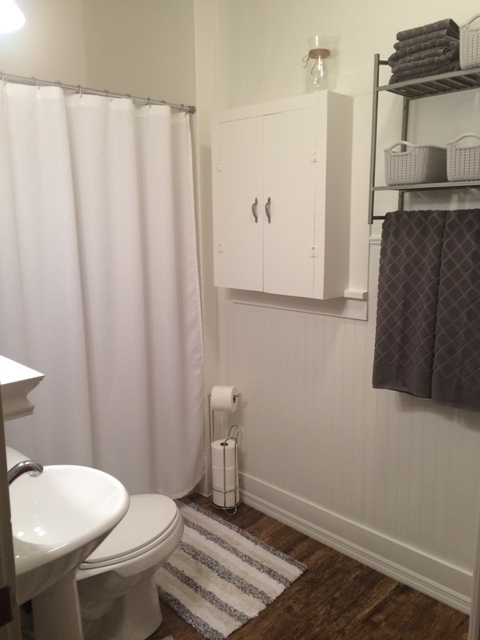
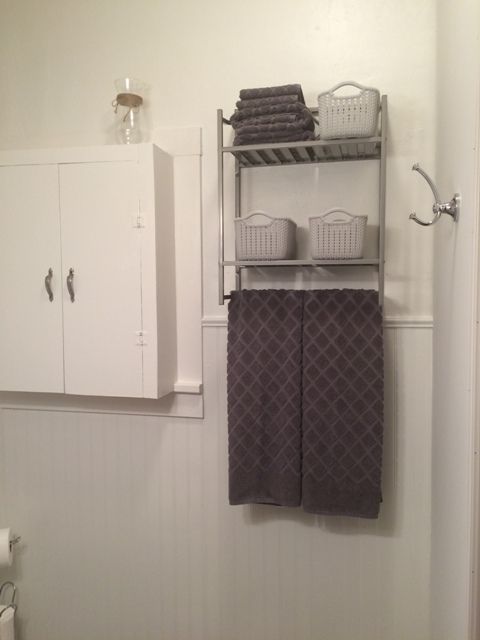
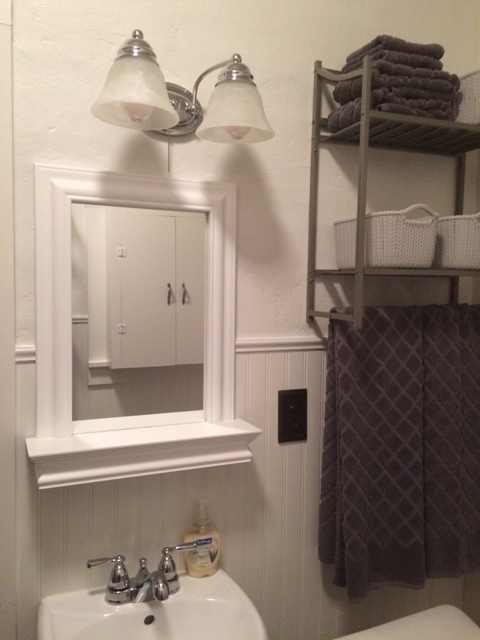
It took four months from start to finish. I painted everything a bright white, using eggshell finish on the upper walls, and semi-gloss finish on the beadboard, trim, and cabinet. I left the original hardware on the cabinet because I like how the metal of the handles has aged. I bought two metal
shelves that hold
storage baskets and our
bathroom towels, which are all shades of gray.
I added a set of two
bath rugs and I'm delighted that the stripes go the opposite way of the grain of the flooring. Rather than hang a toilet paper holder, I bought a freestanding
toilet paper holder that also stores extra rolls. We also hung a new shower curtain rod, curtain rod hooks, and a white textured shower curtain.
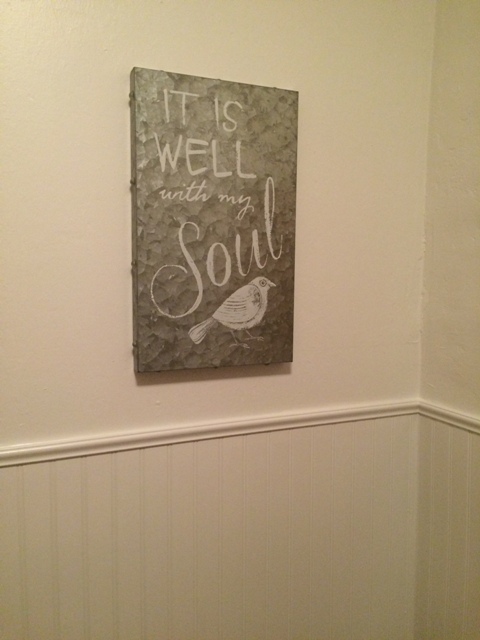
We also hung a beautiful bathrobe hook on the side wall of the water heater cabinet we built. I love the diamond design on the
bathroom towels we chose and think it's a beautiful contrast to the lines of the beadboard. Once we added the top trim to the beadboard, caulked it all properly, and painted everything, the beadboard looks perfect.
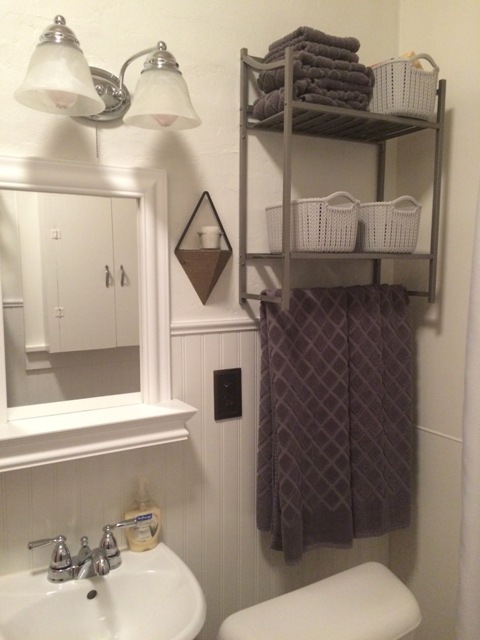
I am in love with everything about our bathroom. I opted for chrome hardware for nearly everything in the bathroom because it goes so well with gray tones. All of the original outlets in the house are black, so we found a bronze outlet cover that complements the black.
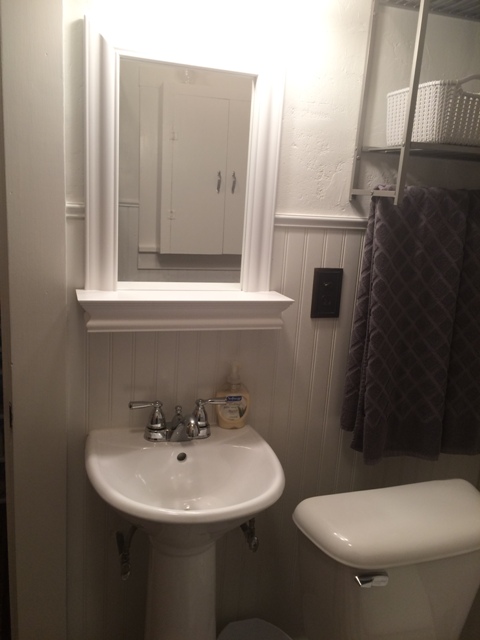
One of my favorite finds was the
bathroom wall mirror over the sink that features a little shelf at the bottom. We cut the beadboard trim to fit around the mirror so that it hangs exactly where we need it. I kind of breezed over how much work was put into the upper walls, but that's the part of the project that took the longest.
It took many weeks of scraping, cleaning, patching, repairing, sanding, priming, and painting to get the upper walls the way I wanted them. I love the way they turned out and they sort of look like they are hand plastered. We also hung a bathroom vanity
lighting fixture on the wall directly above the mirror, where the old medicine cabinet was hung, since the electrical lines were already there.
We modified the lighting fixture by adding a metal pull to the bottom, since the electrical that was there wasn't hooked up to light switch anywhere. My husband is truly the king of functionality and he can take any problem in the house and find a solution. My talent lies more on the design side of renovation. He hates to paint and I love to paint. We are the perfect team!
As we finished up the final touches and I started taking final pictures, I realized that I hadn't done any shopping for the useless, pretty stuff that gives a room warmth. It looked more like an impersonal, blank hotel room and needed more decor.
The cabinet for the water heater isn't quite finished yet, so I'll show you the finished project when we're done with it. I also found a simple lighting fixture for the ceiling to replace the florescent lighting fixture. I opted for a frosted
flush lighting fixture (brushed silver base) so it would give off a softer light than the vanity light.
We headed into the nearest big town to shop at hobby lobby for a few items to bring some warmth into the room. I had a glass vase on hand, so I wrapped a bit of twine around it and purchased a single stem artificial flower that leans toward a light green/cream color combination. I picked a wood/metal tray to prop up behind it and added a small chicken wire basket that contains three little burlap bags holding green artificial plants. The walls are 9' tall and these extra decor pieces help draw the eyes up as you walk in the room.
We also found this fabulous candle sconce that brings both wood elements and iron elements into the room, plus the diamond shape complements the diamond design on the bathroom towels. It's always a good idea to bring wood and greenery into a room for a warm look, especially when using a white and gray color combination because otherwise the room feels cold. I am absolutely ecstatic with the final design of the bathroom and love everything about it!
Now that our bathroom renovation is done, it's my favorite room of the house. I hope you love it as much as we do and I hope I gave you some ideas for your renovation. It feels so good to be done, but the work is far from over. The next room reveal will be the kitchen, which features an original sink and a built-in corner cabinet, but we have a long way to go before it's done.
This home is likely the last house we will renovate. We've done a few others over the years, but we are getting older and slower. We are taking our time with this one, since whatever we do to this home is what will be there until we're gone. Thank you for taking a look and please feel free to ask questions or leave comments about what we've done. And, yes, I'm a bit wistful that there is no claw foot tub.
Note: I have included links to many of the items we added to our bathroom, in case you want to add them to your home. Only the amazon links are affiliate links, which means if you purchase those items through the link in this post, I'll be able to add a few pennies to my change jar.