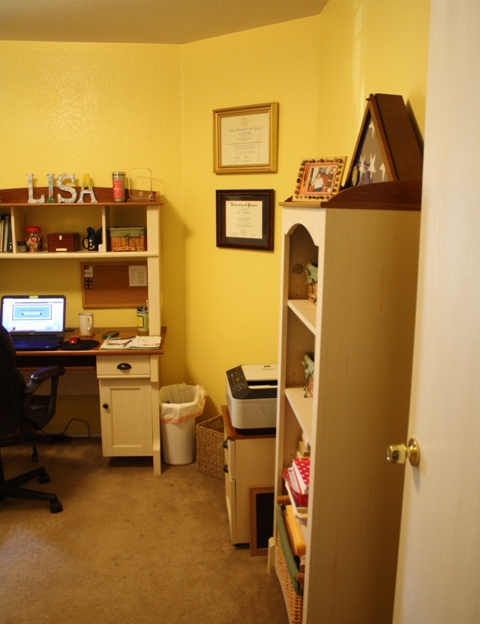
While sitting in my recliner this past weekend watching yet another re-run on tv, I told my husband I felt like I should be doing something, so I decided to paint my office. Since I spend the majority of the weekdays in my blogging office, it's almost funny that it was the last room in the house that I painted. The weird peach color that was on the walls (from the previous homeowner) was dreary and drab to me. I need bright and cheerful walls, something that makes me smile and motivates me to write creatively. I had pre-selected an interior semi-gloss paint color from Behr paint called Applesauce and I simply love it! Painting is the fastest, cheapest way to give a room a fresh new look.
The easiest way to paint a room is to clear it out completely and that was pretty easy considering there isn't much furniture in my office. Cover the floor with a canvas drop-cloth to protect it from spills and drips (I did, even though we're replacing this nasty stained carpeting in a few weeks). Then run strips of blue painter's tape across the areas you don't want painted, like the baseboards and door frames. The previous homeowner had done a sloppy job of painting so I first had to cover up the peach paint-roller bumps on the ceiling with Dead Flat White ceiling paint. Fill any nail holes with a bit of plaster patch and allow to dry before painting. Remove all outlet covers and light switches, and of course the curtains and curtain rods.
Be sure to open a window a bit to allow paint fumes to escape the room while you work or you'll have a monster headache. Fill a flat roller paint pan with about an inch of the paint, then use a paint roller brush (screwed onto a long paint stick) to put the paint on the walls. Roll the paint roller in the paint in the pan (don't saturate the brush), then roll it on the angled part of the pan to eliminate excess paint and spread the paint evenly on the brush. To put the paint on the wall, start by rolling the paint on the wall in a W shape, then roll the paint out evenly on a section of the wall that measures about 3'x3'. Move the roller brush flat against the wall, up and down in each section, making sure to cover the old paint completely.
I work across in sections, one wall at a time, from ceiling to floor. I avoid the area an inch or so from the ceiling, baseboards, and doorway trim. If you buy a cheap paint, you may have to do two coats of paint, or if you're putting a light color over a dark color. When all the walls are painted, switch to an angled paintbrush (I always use Purdy paintbrushes) and paint the areas near the ceiling, baseboards, and doorway trim. You will need a ladder to paint near the ceiling, of course. Painting all the trim in my house is on my to-do list for another day. I only needed one coat of paint to cover the old color and this room only took one gallon of paint, leaving me some leftover for possible future touch-ups.
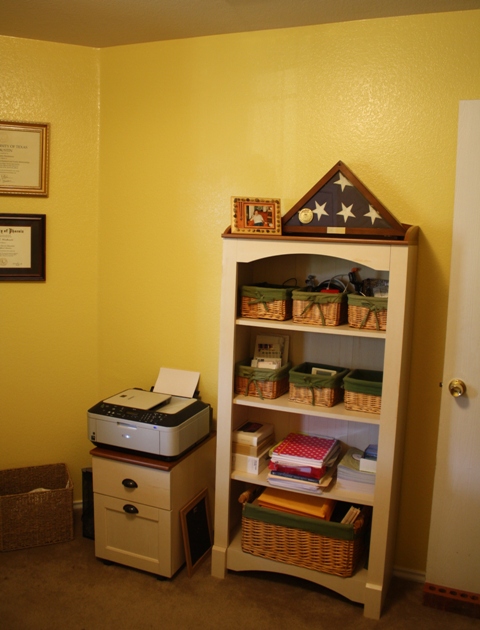
If you have leftover paint you're saving, write the name of the room on top of the paint can lid. If you use a latex paint (my preference), you can rinse your brushes in water. Once all the paint is dry, you can hang your curtains, reinstall outlet covers and switch covers, replace your furniture, and hang pictures. We also replaced the old ceiling fan with a bright ceiling light, because I don't like all my work papers blowing around the room. I'm only showing you three walls of my office, even though I painted all four, because I've got another DIY project brewing for the fourth wall and that will be another post later this month, after the carpeting is replaced. I also still have a few pictures to hang on the wall.
I absolutely, positively LOVE my new office color...it reminds me of the color of the happy face! What do you think of my blogging office?
See my other home renovations
here.
Share this post with the buttons below!


Love! I'm so jelly...miss having an office sometimes.
ReplyDeleteThank you! I love having a dedicated space, so I can "go home" when I'm done blogging.
DeleteLisa, the room is gorgeous
ReplyDeleteThank you so much!
DeleteLooks great!! Anxious to see the daybed and carpeting when you finish "my room". You got 6 weeks to finish it. Love you! ❤️😜
ReplyDeleteYou are going to love it, mom!
DeleteThis looks like an entirely new room! I want to make an office for my blog work. I really like your photo setup.
ReplyDeleteThank you! I used a $2 science foam board and hold up the vinyl backdrops with a couple of wooden clothespins.
DeleteIt looks great, Lisa!
ReplyDeleteThank you Gina!
DeleteI Love it I truly do. I will have to bookmark this for when I do my office. I love how people can look at something and make it look fab.
ReplyDelete